Caption
Key Takeaways
High-performance saunas rely heavily on proper airflow, insulation, heater placement, and thoughtful layout design.
Small design decisions-like ceiling height, ventilation strategy, and bench positioning-can dramatically affect comfort and heat consistency.
Custom-built saunas typically allow for better material quality, insulation, and overall fit compared to prefabricated sauna kits.
In our experience, some of the best-performing saunas are designed around how the homeowner actually plans to use the space day-to-day.
Proper planning during the design phase often helps avoid long-term comfort, moisture, and maintenance issues.
A well-designed sauna should feel comfortable, efficient, durable, and easy to use consistently over time.
Introduction: What You’re Really Building When You “Build a Sauna”
A sauna is much more than a simple room with a heater. It’s a controlled environment where heat, moisture, dry heat, steam, and ventilation work together to create a comfortable sauna experience that can be used regularly over many years.
There’s a big difference between a quick DIY sauna build and a thoughtfully planned home sauna. A basic project may get hot, but a better-performing sauna manages temperature, air movement, safety, materials, and long-term durability. This guide focuses on traditional Finnish sauna design with hot rocks, whether powered by an electric heater or a wood stove, rather than infrared rooms.
When we design custom saunas, the main point is not just carpentry. It is understanding how heat moves through the room, how moisture leaves the structure, and how people actually sit, relax, cool down, and use the space day to day.
Vintage Cellars Pro Tip
The highest-performing saunas are not necessarily the biggest or most expensive. In our experience, proper airflow, heater sizing, ceiling height, and bench placement have a greater impact on comfort than adding premium finishes alone.
IMAGE
Planning Your Sauna: Use, Location, and Size
Before the sauna building process begins, start with use. Will your own sauna be for one person after a workout, two people after a shower, or small gatherings near a pool? Those decisions affect the floor plan more than a generic capacity chart.
A compact 4'x6' sauna can seat 1–2 people, while a 6'x8' sauna works well for 3–4, making size a crucial factor in planning your DIY sauna. Indoor saunas typically range from 4×4 feet to 8×8 feet, while outdoor saunas often start at 5×7 feet, allowing for more design flexibility.
Indoor saunas work well in basements, spare rooms, home gyms, or spa-style areas indoors. They benefit from existing climate control and electrical access, while outdoor saunas require complete structure and weatherproofing, including foundations and power supply. Indoor sauna builds typically cost less than outdoor builds, as they utilize existing structures and require less weatherproofing.
For a DIY sauna, it's essential to set a budget ceiling and track every line item, prioritizing key components like the heater, wood, and insulation. This keeps cost decisions practical, especially when choosing between cedar, spruce, alder, thermo-spruce, glass, lighting, and controls.
Sauna Design Checklist
- Heater correctly sized
- Ceiling height optimized
- Fresh air intake planned
- Exhaust vent positioned
- Vapor barrier detailed
- Bench height and depth planned
- Indirect lighting considered
- Drainage and waterproofing reviewed
- Door swing and clearances checked
- Service access included
Structure and Foundations: Building the Shell That Will Last
A home sauna needs a stable, dry, level shell. Building a home sauna requires careful planning around moisture, heat, and safety. If the frame shifts, the sauna door may stop sealing, benches may loosen, and the walls may develop gaps that hurt heat retention.
For indoor builds, check that the existing floor can support occupants, benches, the sauna heater, and interior materials. The flooring of a sauna should be waterproof and non-slip to ensure safety. A drain is helpful where rinsing is common, but a waterproof floor with removable duckboards can also be fine for modest water use.
Outdoor builds need more attention to weather, roof overhangs, drainage, frost heave, and settling. Construction of outdoor saunas must take into consideration weatherproofing and a solid foundation such as concrete or gravel.
Common foundation types include:
Slab or Pad Foundations
A common sauna construction choice involving excavation, a moisture barrier, and poured concrete.
Trench Foundations
A trench around the sauna’s perimeter filled with concrete to provide a solid base.
Pier Foundations
Deep holes filled with concrete or other material, supporting the sauna above ground and allowing drainage.
Screw Foundations
Helical screws anchor posts into the ground and can work well for certain temporary or low-impact structures.
Plinth Foundations
Pyramid-shaped concrete blocks placed at intervals to create a sturdy base while minimizing ground disturbance.
Getting the shell square makes later work, including door fitting, cladding, and building benches, much cleaner.
Insulation, Vapor Barriers, and Airflow: The Hidden Systems
Insulation, vapor control, and ventilation are the hidden systems that often determine whether a sauna feels calm and even or stuffy and inconsistent.
Insulation requirements for sauna walls should be R-11 to R-13 using materials such as fiberglass or mineral wool. In colder climates, we often look at higher-performing assemblies, especially in outdoor saunas, but the first goal is continuous coverage in the walls and ceiling with minimal gaps.
An effective vapor barrier for saunas should be made from aluminum foil to prevent moisture damage. A continuous foil-faced vapor barrier on the warm side of the studs also reflects radiant heat back into the room. Seams should be overlapped and sealed with aluminum tape, especially at corners, vents, light boxes, and heater penetrations.
Proper ventilation is critical in sauna construction to prevent issues such as uneven temperatures, stuffiness, and high-limit tripping of heaters. A basic ventilation setup includes a fresh air inlet located low near the heater and an exhaust vent positioned higher on the opposite wall, typically 24 to 34 inches off the floor.
Did You Know?
In our experience, proper airflow can make two saunas at the same temperature feel completely different.
Wood and Interior Materials: Where Performance Meets Comfort
Wood choice affects skin comfort, maintenance, smell, and atmosphere. Using untreated softwoods like cedar or spruce for interior cladding and benches is recommended, as these materials resist moisture and do not off-gas.
Western Red Cedar
Western red cedar is a popular choice for sauna construction due to its natural resistance to moisture and rot, as well as its ability to remain cool to the touch at high temperatures.
Alder
Alder is affordable and smooth, making it a comfortable choice for benches, paneling, and areas where skin contact matters.
Thermo-Spruce
Thermo-spruce is treated with heat to withstand moisture, making it ideal for outdoor saunas.
Spruce
Spruce is a traditional sauna wood option and is often used for interior cladding where a clean, classic sauna look is desired.
Interior wood used in saunas should be free of knots to avoid overheating and burns when sitting directly on it. Rounded edges, smooth sanding, and slight spacing between boards add drainage, airflow, and comfort.
Avoid pressure-treated wood or engineered products like OSB and MDF inside the sauna because they can off-gas at high temperatures and do not withstand the sauna environment well.
IMAGE
Sauna Heater Selection and Placement
The sauna heater is the heart of the room. Sauna heaters should be sized appropriately, with about 1kW of power needed per 50 cubic feet of sauna space to ensure effective heating. Glass doors, stone surfaces, poor insulation, or very cold outdoor conditions may push the required range higher.
Most electric sauna heaters need proper electrical planning. A dedicated 240-volt circuit is required for most electric sauna heaters, and electric work should be handled by a qualified electrician. Electric models are clean and easy to control, while a wood stove offers a more traditional feel for remote outdoor locations.
Heater placement near the door on a short wall often works well because it keeps the hottest zone away from lounging areas and supports circulation. Guards or rails around the heater are important for safety, and manufacturer clearances should be followed exactly.
Heaters with more stone mass often produce softer heat and better steam when water is poured over the rocks. That small detail can change the whole sauna experience.
Vintage Cellars Pro Tip
Heater sizing should account for more than cubic footage. Glass, stone, exterior walls, outdoor exposure, and insulation quality can all affect how much heat the sauna needs to perform comfortably.
Layout, Bench Design, and Ceiling Height
Bench Design
Bench height matters because hot air rises. The top bench should place the user in the warmest usable layer of air without bringing the head uncomfortably close to the ceiling. In many rooms, an upper bench around 20" to 24" deep allows a person to sit or recline, while the lower bench functions as cooler seating, a step, and foot support.
Good benches are not just boards across a wall. They need solid framing tied into studs, smooth edges, airflow between slats, and enough strength for daily use. When building benches, we also consider how people enter, turn, sit, stretch out, and leave without brushing the heater or blocking the door.
Ceiling Height
Layout determines how the heat feels on the body. The ideal ceiling height for a sauna should not exceed 7 feet to maintain effective heat. Taller ceilings can trap the hottest air above the user, while too-low ceilings can feel cramped.
Custom layouts can be straight, L-shaped, or U-shaped. The best choice depends on whether the space is mainly for quiet relaxation, family use, or social evenings.
Indoor vs Outdoor Sauna Builds: Practical Differences
The same principles apply to indoor and outdoor saunas: insulation, vapor barrier continuity, heater sizing, proper ventilation, and durable materials. The priorities simply shift.
Indoor Saunas
Indoor saunas are protected from wind and weather, but moisture management is critical because they must protect surrounding structures from heat and humidity.
Outdoor Saunas
Outdoor saunas face challenges like frost heave, settling, siding, flashing, roof design, drainage, and winter access.
An outdoor sauna near a garden, pool, or view can feel wonderful, but if it is too far from the house in bad weather, it may be used less often. Retrofitting a sauna into an existing room requires early planning around wiring, ventilation routes, plumbing, clearances, and the door swing.
DIY Sauna Build vs Custom Design and Prefab Kits
A DIY sauna can be rewarding, especially for homeowners who enjoy building and have time for fine details. Kits can reduce measurement errors and speed assembly. Custom design gives more control over air movement, ceiling height, bench layout, window placement, and integration with the rest of the house.
DIY from Scratch
Strength: Most control over materials and budget
Trade-off: Requires planning, tools, and time
Prefab Kit
Strength: Faster installation
Trade-off: Less flexible layout and material choice
Custom Design
Strength: Best fit for use, space, and performance
Trade-off: Higher upfront planning and cost
Custom projects often perform better because insulation, vapor barrier continuity, ventilation, heater placement, and bench configuration are planned together rather than treated as separate decisions.
Questions to Ask Before Building a Sauna
Where will the sauna be located?
Location affects structure, weatherproofing, ventilation, wiring, drainage, privacy, and how often the sauna will realistically be used.
How many people will use the sauna at once?
Capacity influences the floor plan, bench layout, heater size, door placement, and whether the sauna should feel private, social, or flexible.
Should the sauna be electric or wood-fired?
Electric heaters offer clean operation and convenient controls, while wood stoves create a more traditional experience and may suit remote outdoor locations.
Will the sauna be indoors or outdoors?
Indoor saunas benefit from existing structure and climate control, while outdoor saunas need more planning around foundations, weatherproofing, roof design, and access.
What ceiling height will keep the heat where people sit?
Ceiling height affects heat retention and comfort. A room that is too tall can trap the warmest air above the users instead of around the benches.
Does the sauna need a drain?
A drain can be helpful for rinsing and outdoor use, while some indoor saunas work well with waterproof flooring and removable duckboards when water use is modest.
How will fresh air enter and humid air leave?
Ventilation helps prevent stuffiness, cold spots, and inconsistent heating. Intake and exhaust planning should happen before the walls are closed.
What lighting will make the sauna feel calm and usable?
Warm indirect lighting under benches, behind backrests, or in coves usually feels more relaxing than bright overhead fixtures.
Finishing Touches and Long-Term Maintenance
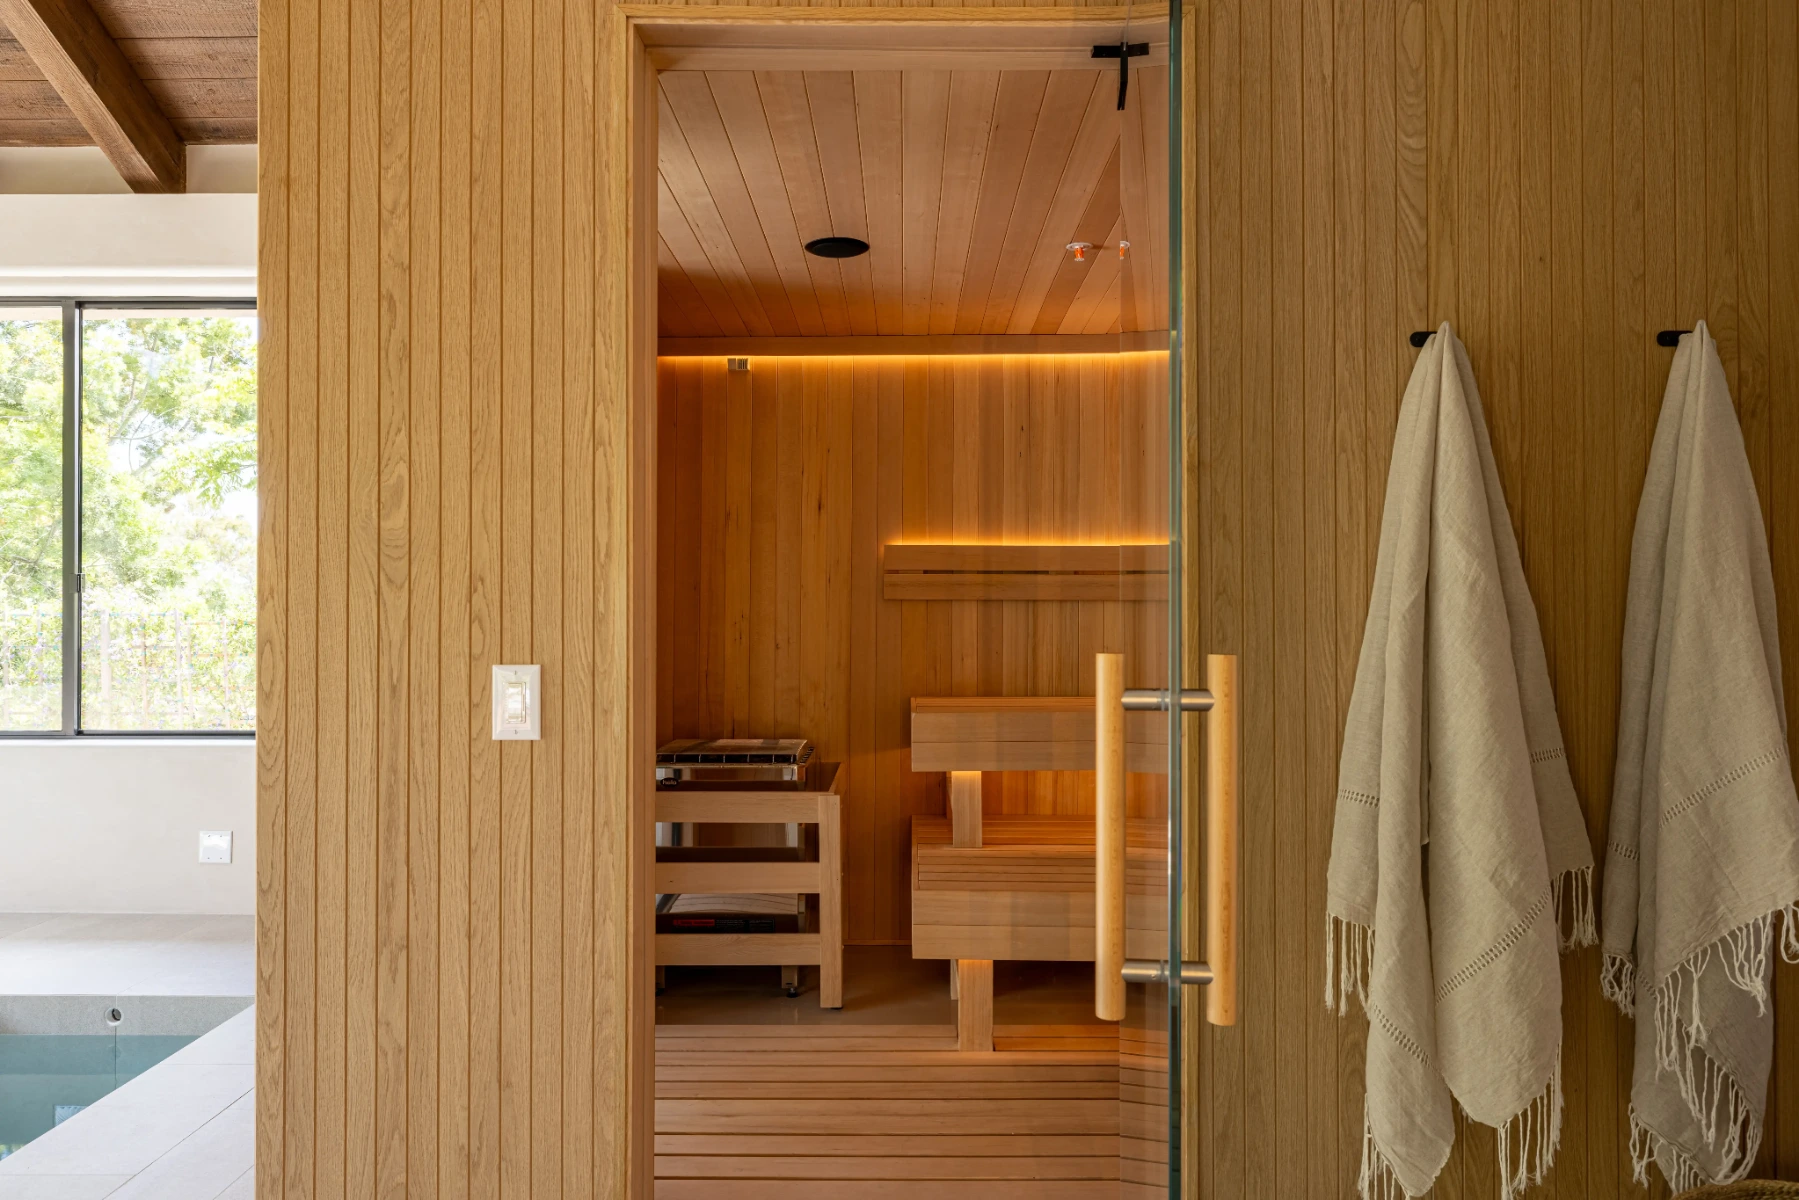
Small finishing decisions make daily use more enjoyable. Warm indirect lighting under benches or behind backrests is usually more relaxing than bright ceiling fixtures. A tempered-glass sauna door can make the room feel more open, but the door should open outward and never lock from inside.
Useful accessories include a wood bucket and ladle, thermometer, hygrometer, towel hooks outside the hot room, and simple backrests. Avoid overcomplicating the space; a sauna works best when it feels easy to use.
Maintenance is light but important: clean surfaces, sand benches when needed, check fasteners, inspect heater stones, watch for moisture at floor corners, and keep vents free of dust or debris. With good materials and steady care, a well-built sauna can remain comfortable for decades.
Conclusion
Learning how to build a sauna is really learning how to manage heat, air, moisture, and human comfort in a small room. The best results come from thoughtful planning before construction begins: where the sauna goes, how it vents, how it is insulated, how the benches feel, and how naturally it fits into daily life.
If you are weighing a kit, a DIY sauna, or a fully custom approach, start with how you want the room to feel and how often you will use it. Those answers usually lead to better design decisions than square footage alone.
IMAGE
Sauna Building FAQs
How long does it typically take to build a home sauna?
Timelines vary widely. A simple prefab indoor sauna might be assembled in a weekend, while a custom outdoor sauna with foundation, framing, and finishes can span several weekends or 1–3 months of part-time work, depending on complexity and skill level.
What temperature should a traditional hot-rock sauna run at?
Many enjoy dry Finnish-style sessions around 170–195°F (77–90°C). Some prefer lower temperatures combined with more steam. It’s best to experiment gradually within the heater manufacturer’s recommended limits to find what feels comfortable.
Can I convert an existing small bathroom or closet into a sauna?
It’s sometimes possible but requires careful evaluation of clearances, structural capacity, ventilation, and electrical access. Involving an electrician and someone familiar with vapor control is advisable, especially if walls adjoin living spaces.
Do I need a drain in the sauna floor?
A drain is ideal, particularly for outdoor saunas or heavy rinsing routines. Many indoor saunas function well with slatted floors over waterproof surfaces if water use is modest and surrounding finishes are protected.
How much ongoing maintenance does a wood-fired outdoor sauna require compared to electric?
Wood-fired saunas need chimney cleaning, firebox ash removal, and firewood handling. Electric heaters mostly require occasional inspection and stone replacement. Both benefit from periodic interior cleaning and ventilation checks.






.png)